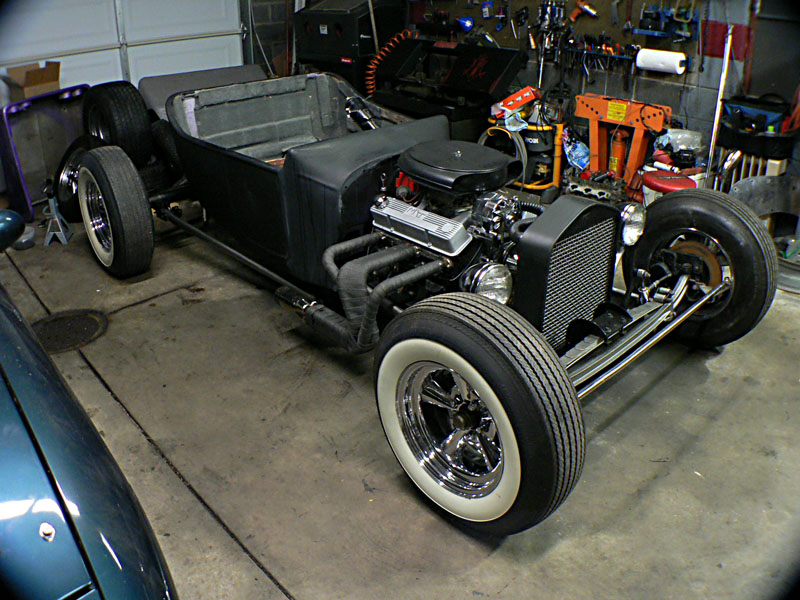
No updates . . .
No updates at the moment, just ordering parts, figuring out a few things and paint work. In the coming week the visuals should start happening again.
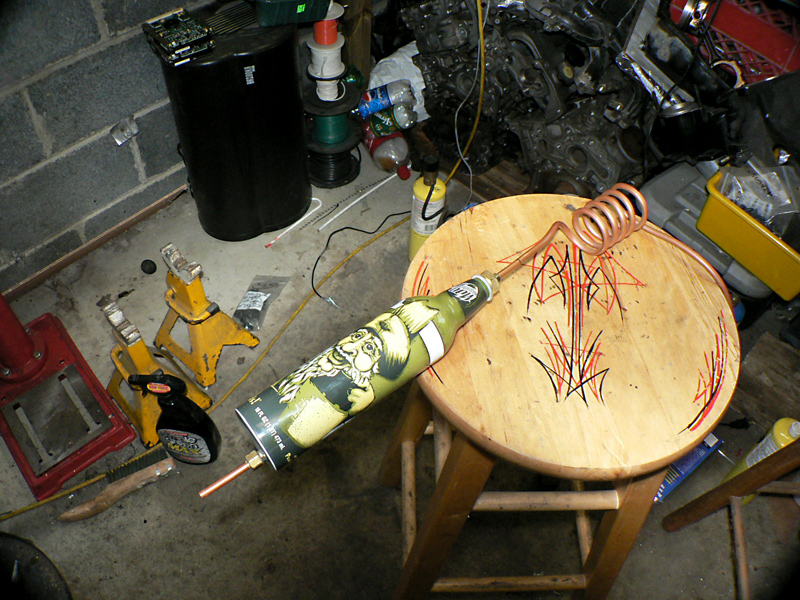
Overflow/recovery/puke tank
This is my setup for a recovery/overflow bottle. This was an aluminum Mountain Dew bottle that was put out last year that I held on to because I knew it would be useful someday. The top line comes from the radiator and goes to the bottom of the bottle. The bottom line goes up through the bottle and ends a few inches shy of the top. This will allow coolant to be recovered but overflow if it begins to fill too much.


The beginnings of sound
I have no intention on putting a head unit, radio, cd player, etc in the bucket but I do need some sort of tunes. I don't have the speakers that will go in yet but I did start building the iPod interface.
This basically consist of a mini-amp (says 500w but its really a 40w rms amp) adn a Belkin ipod adapter. I gutted the Belkin adapter for it's power and interface, removed the inputs from the amp and mashed it all together and surprisingly enough it works very well. The volume control was also extended so I can put it wherever I want, I just have to figure out where that is.


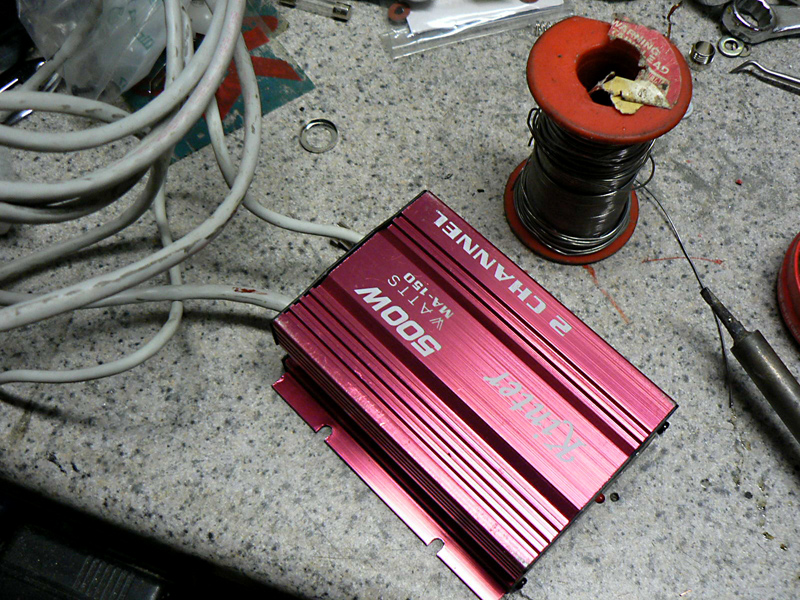
This basically consist of a mini-amp (says 500w but its really a 40w rms amp) adn a Belkin ipod adapter. I gutted the Belkin adapter for it's power and interface, removed the inputs from the amp and mashed it all together and surprisingly enough it works very well. The volume control was also extended so I can put it wherever I want, I just have to figure out where that is.


Windshield brackets have arrived
Finishing up the dashboard
Making the dashboard
I have had a hard time trying to come up with exactly how I wanted to do the dashboard, and what I wanted to use and jokingly I have been saying that somehow I need to use the 3 foot valve cover off of my '52 Buick somewhere on the car.
Well, this is why people shouldn't own plasma cutters :)


The gauge holes still need to be cleaned up, nothing is aligned yet just set in for pics, I need lights for turn & high beams and the old oil fill hole will get a nice cap and a 12v socket behind it.
Well, this is why people shouldn't own plasma cutters :)


The gauge holes still need to be cleaned up, nothing is aligned yet just set in for pics, I need lights for turn & high beams and the old oil fill hole will get a nice cap and a 12v socket behind it.
Windshield mockup
John came by this past Sunday and besides the general admiring, sitting and pretending we did get a couple things accomplished. A few things we did not snap pic's of such as the brake line work, fitting, suspension measurement, etc. However, I did snap a shot after we trimmed down the windshield and started setting it up in place. Instead of brackets I have mounted a Widitron in the cab to hold it up, rather sturdy but a bit obtrusive.


3 words...
The tank is here!
Pinstriping practice
Just playing around a bit more with pinstriping, I did my band saw and one of the stools in the garage, the stool is already a little scuffed up from use but you get the idea.


And here is the box I made to hold my supplies. In it, there are my brushes, oil, mineral spirits, and a few cans of one shot.


And here is the box I made to hold my supplies. In it, there are my brushes, oil, mineral spirits, and a few cans of one shot.

Wrapping the headers
Big John Widitron bearing gifts
For some reason these pics came out a bit dark, but Santa John brought over some air cleaner love that he is not able to use since his Project Temptress is going all modern - after a few minutes of precision adjusting and expert fitting it looks right at home...


I'll get some better shots tomorrow when I open up my goodies from Summit that should be arriving by the time I get home from work.


I'll get some better shots tomorrow when I open up my goodies from Summit that should be arriving by the time I get home from work.
No big deal . . .
Not too much work this weekend just mostly garage cleaning in the warm weather, however I did manage to get a few things accomplished. I called my buddy Pat over at Summit Racing (call him, order stuff 800-230-3030 ext 6129) to order a nice load of parts and on Friday I ordered my gas tank.
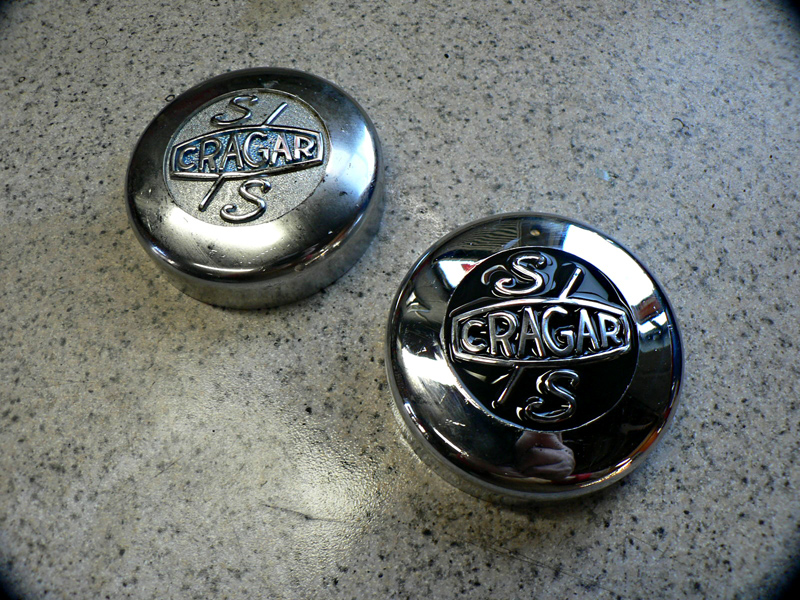
I also took the time to clean up and body match by the old Cragar center caps. These may get replaced with bullets at some time but for now they look a bit better.
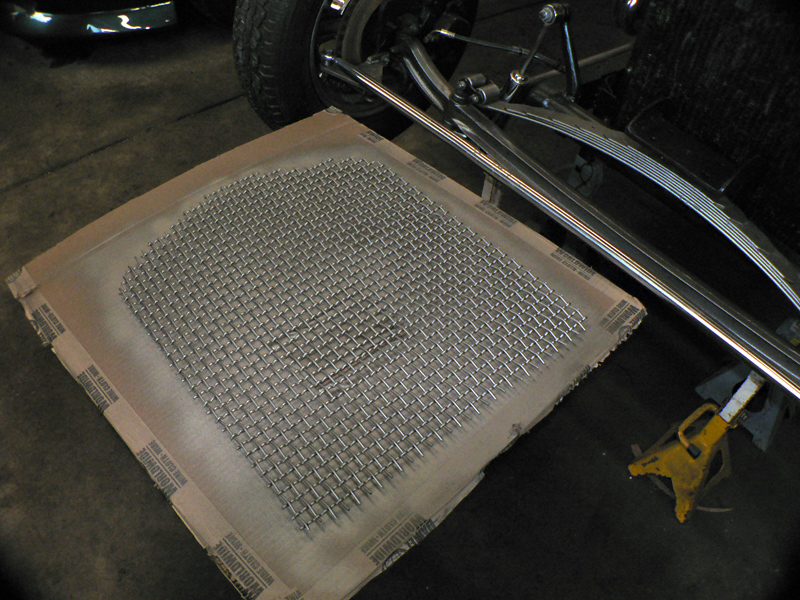
I also painted the insert grill that I made the other day to match the silver suspension pieces.
Another coat of paint went on the bucket over the weekend as well, that means some sanding in the next day or so and parts should start arriving on Tuesday for more fun.
I also took the time to clean up and body match by the old Cragar center caps. These may get replaced with bullets at some time but for now they look a bit better.

I also painted the insert grill that I made the other day to match the silver suspension pieces.

Another coat of paint went on the bucket over the weekend as well, that means some sanding in the next day or so and parts should start arriving on Tuesday for more fun.
Electrical (ugh)
I started going through some of the old electrical, while it's not as archaic as my '52 Buick was, it's definitely in need of an upgrade. While I have a great deal more to do, I was happy to do away with the glass fuses and a bit of the old wiring so far.
Here is the main feed from the light control switch from the battery cutoff, above was what was there and below is my new piece.

And now on to the fuse block.
Old:

New:
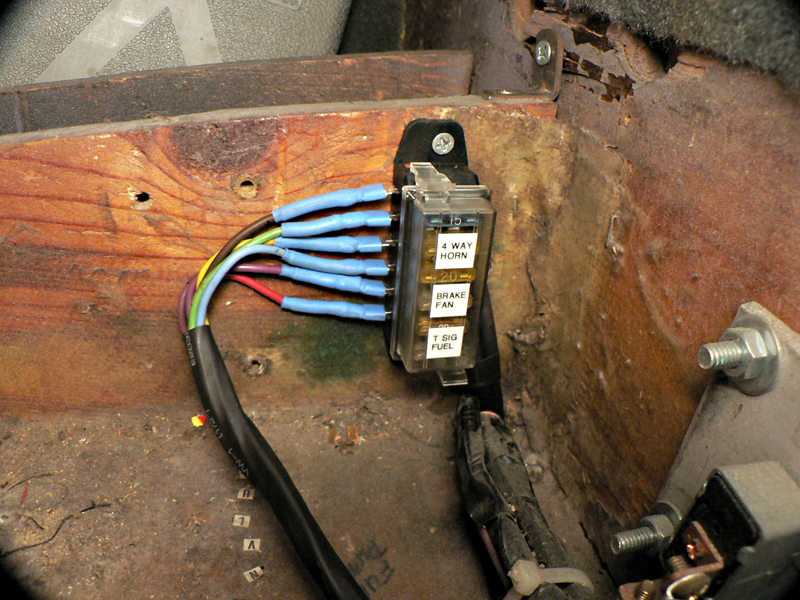
Here is the main feed from the light control switch from the battery cutoff, above was what was there and below is my new piece.

And now on to the fuse block.
Old:

New:

Building the grille
The past couple days
Over the past few days I turned my attention to the engine, removing, cleaning and painting parts - I came across a few surprises but nothing horrific.
The color scheme coming together, that intake manifold was days of wirebrushing and sanding - apparently it was hot pink and high heat primer under the black top coat. I stripped it down and painted it cast alum.

Under the HEI cap I found these bare wires when doing a simple tune up, actually wrapped around each other and definitely touching - I can't believe this thing ran at all let alone so well.

The color scheme coming together, that intake manifold was days of wirebrushing and sanding - apparently it was hot pink and high heat primer under the black top coat. I stripped it down and painted it cast alum.

Under the HEI cap I found these bare wires when doing a simple tune up, actually wrapped around each other and definitely touching - I can't believe this thing ran at all let alone so well.

Subscribe to:
Comments (Atom)


